
Gentleman’s Dog Headed Cane Part 2 (Making the Stick Part)

Instructions
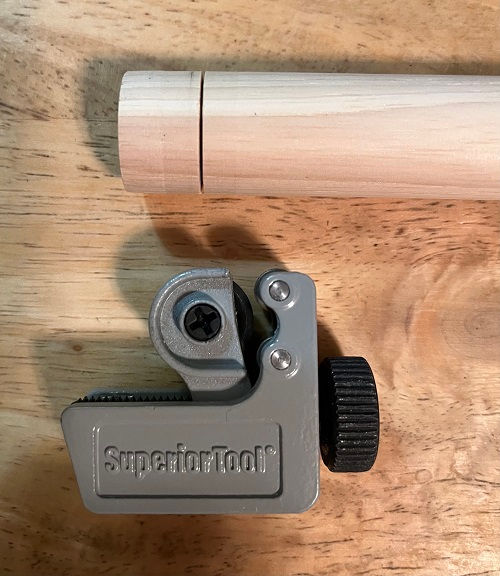
Step 1: Measure about 1/2" to 5/8" in from each edge and cut a groove full depth using the tubing cutter being careful to keep the intial cut square. If used correctly the tubing cutter will create an even and square edge to cut set the collar and ferrule one
Step 2: I give the stick an overall first sanding to 220 grit at this point. Start with 120 or 180 if needed but usually with dowels you can go straight to 220. This removes any marks on the wood from the tubing cutter. I usually wet the wood down and sand it again
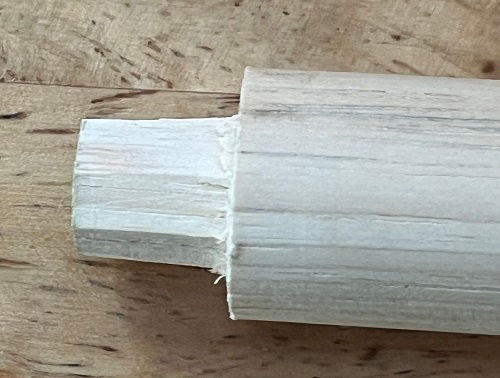
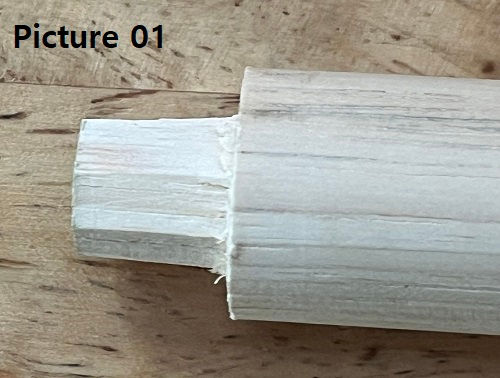
Step 3: Using the hammer and chisel cut straight down from the end to the cut line removing chips as you go. It only takes a light tap of the hammer and the chip pops off. Works slowly around the stick, checking the fit of the collar at one end and the ferrule the other.
The fit doesn't need to be perfect as the epoxy will fill any gaps but do try for a fairly close and even fit, ensuring that all the wood that needs to be is removed allowing the parts to fit evenly and squarely against the dowel

Step 3:
For the ferrule ensure when fitted that there is the same space completely around the ferrule and it is centered on the stick

Step 4:
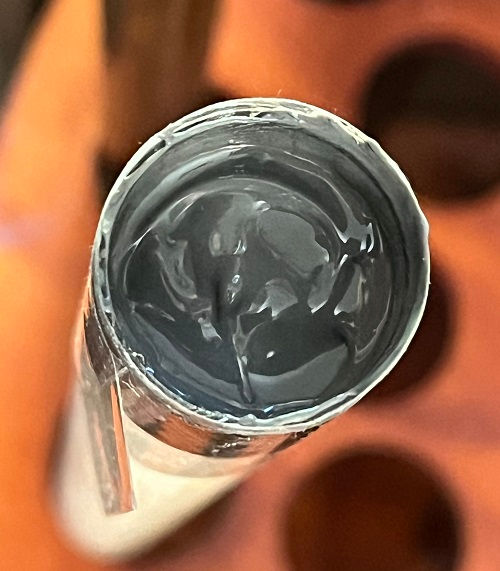
I fit the collar to the top and secured it with packing tape, basically rolling it on a flat surface using the surface to ensure that the collar fit evenly to all side. Then I partially filled the collar with JB Weld epoxy, gently pushing it down into the cavity between the carved peg at the end of the stick and the inside of the collar. I first cleaned the inside of the collar with an alcohol wipe to remove any oil from the packing process. The tape works as a clamp as well as protecting the outside of the collar from any excess epoxy. Propping it collar end up allows the slow curing epoxy to flow down into the cavities and form a strong bond between the two materials. I then give it 24 hours to harden and cure. You can see how using the tubing cutter gives you a nice even join


Step 5:
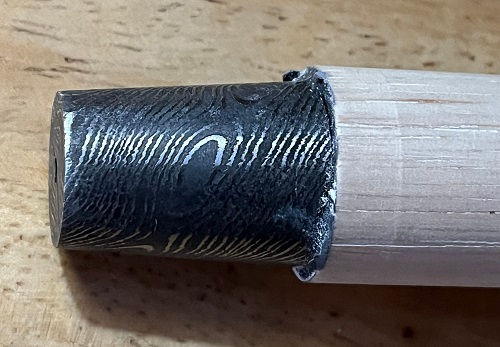
Essentially I followed the same process for glueing on the ferrule except the tape, instead or running around the cane, runs across the end and I place it ferrule down to dry letting the weight of the stick supply the necessary pressure. Again I gave it 24 hours to dry (I did say this wasn't difficult I never said it was fast. Most of the time is waiting for things to dry and harden.)
Step 6:
I then used a chisel, rasp, and sandpaper to taper the shaft down to the ferrule. I will etch the collar and ferrule and apply super Blue to bring back the pattern after everything is sanded flush. You can begin the taper where you like I tend to go about one third up the shaft on this one a little less

Step 7:
I diluted ferric chloride with water about 50/50 (pouring the chloride into the water) and brushed the entire stick including the collar and ferrule. I gave it about 20 minutes to settle then washed with baking soda and water. The wood looks orange at first but let it settle in for about 24 hours and it turns a nice reddish brown. On oak due to the increased tannins in the wood it turns almost black. I taped off the steel parts and gave the shaft another full strength coating to darken it further
Step 8:
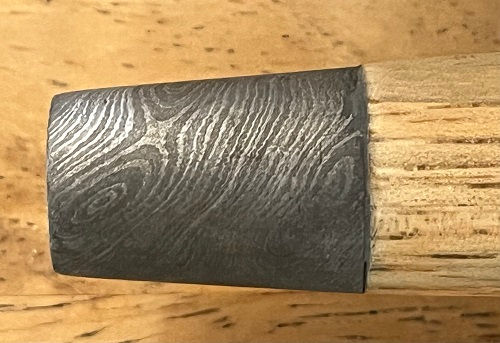
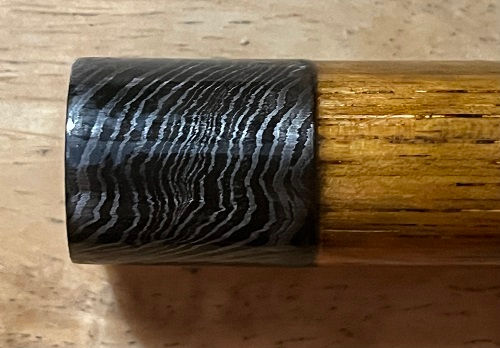
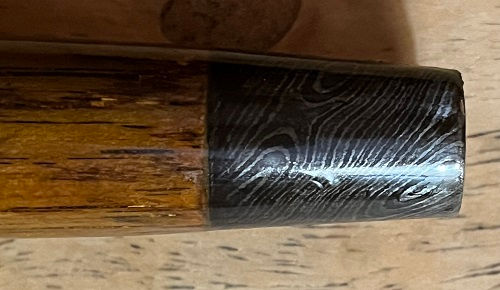
As you can see on the ferrule the damascus pattern was restored after etching but we can increase that. After taping off the shaft to protect it I applied Super Blue to the steel parts and let dry. Then I lightly sanded with 600 grit paper to remove the blue from the highights resulting in a nice silver and black pattern
Step 9:
Prior to fitting the handle I gave the shaft and steel parts three thin coats of Tru-Oil, allowing 24 hours to try between coats. I then sanded lightly with 1000 grit paper, applied another coat, sanded, etc. The final coat was rubbed out with 2000 grit paper lubricated with mineral just to even out the finish


Comments